Inverse Dynamics
Unity Technologies
역동역학? 역기구학?
역동역학에 앞서 간단하게 역기구학을 설명하면 로봇공학에서 말단의 위치 및 방향이 주어졌을 때 이 상태를 만족하는 해를 구하는 것을 뜻합니다. 경우에 따라서 역기구학의 해는 존재하지 않을 수 있거나, 또는 여러 해가 존재할 수 있습니다.
마찬가지로 역동역학은 특정 동력이 주어졌을 때 이 상태를 만족하는 해를 구하는 것입니다.
기존 작성한 포스팅에서 Unity 2022 버전에서 역동역학의 기능이 개선 및 추가 되었습니다. 이번에는 해당 기능을 소개하는 데모를 뜯어보도록하겠습니다.
[Unity Physics] Real-Time 시뮬레이션 유니티의 물리엔진 #2 (Unity 2022.1Alpha) Robotics 튜토리얼
Unity Physics 2022.05 Unity Korea Live 진행 내용 잘못 작성되어 있는 내용 또는 업데이트가 된 내용이 있다면 댓글로 알려주시면 감사하겠습니다. ref#1 Unity : Expanding the robotics toolbox: Physics c..
pnltoen.tistory.com
데모 사용방법
Unity Inverse Dynamics Demo Project Github Repo에서 해당 프로젝트를 Git Clone합니다.
GitHub - Unity-Technologies/unity-inverse-dynamics-demo: A small project showing off the Inverse dynamics available in Unity
A small project showing off the Inverse dynamics available in Unity - GitHub - Unity-Technologies/unity-inverse-dynamics-demo: A small project showing off the Inverse dynamics available in Unity
github.com
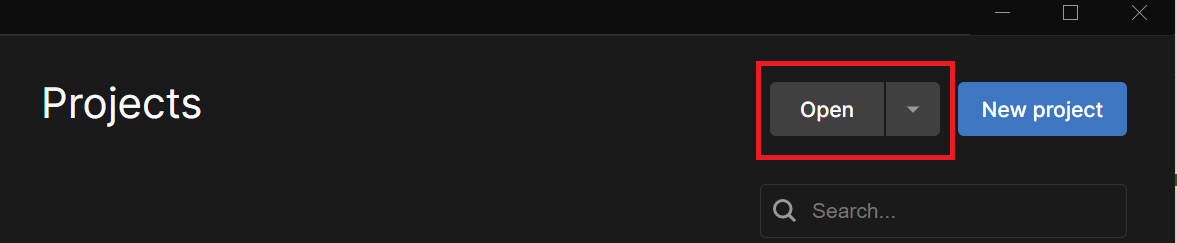
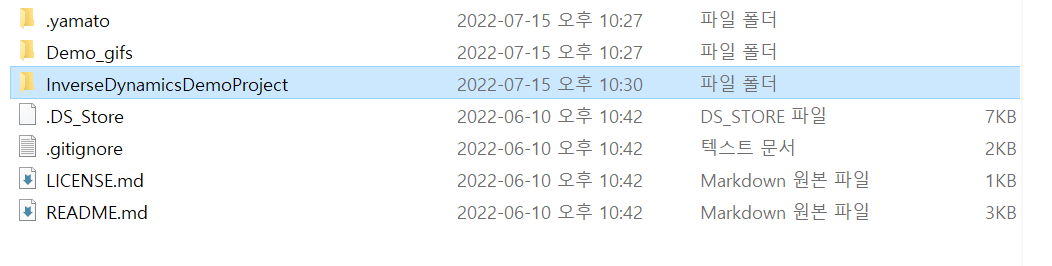
Unity Hub에서 Projects를 Open 후 다음 폴더를 선택합니다.
이 후 다음과 같이 정상적으로 열리는 것을 확인할 수 있습니다.
데모는 2022.2.0a16버전을 사용하지만, 기존 설치된 2022.2.0a18버전을 사용해서 진행하도록 하겠습니다.

Counteracting Gravity Forces
첫번째 데모를 보겠습니다. ArticulationBody.GetJointGravityForces(List<float> forces) 를 사용하면, 오브젝트에 가해지는 중력의 크기를 알 수 있다고 합니다.
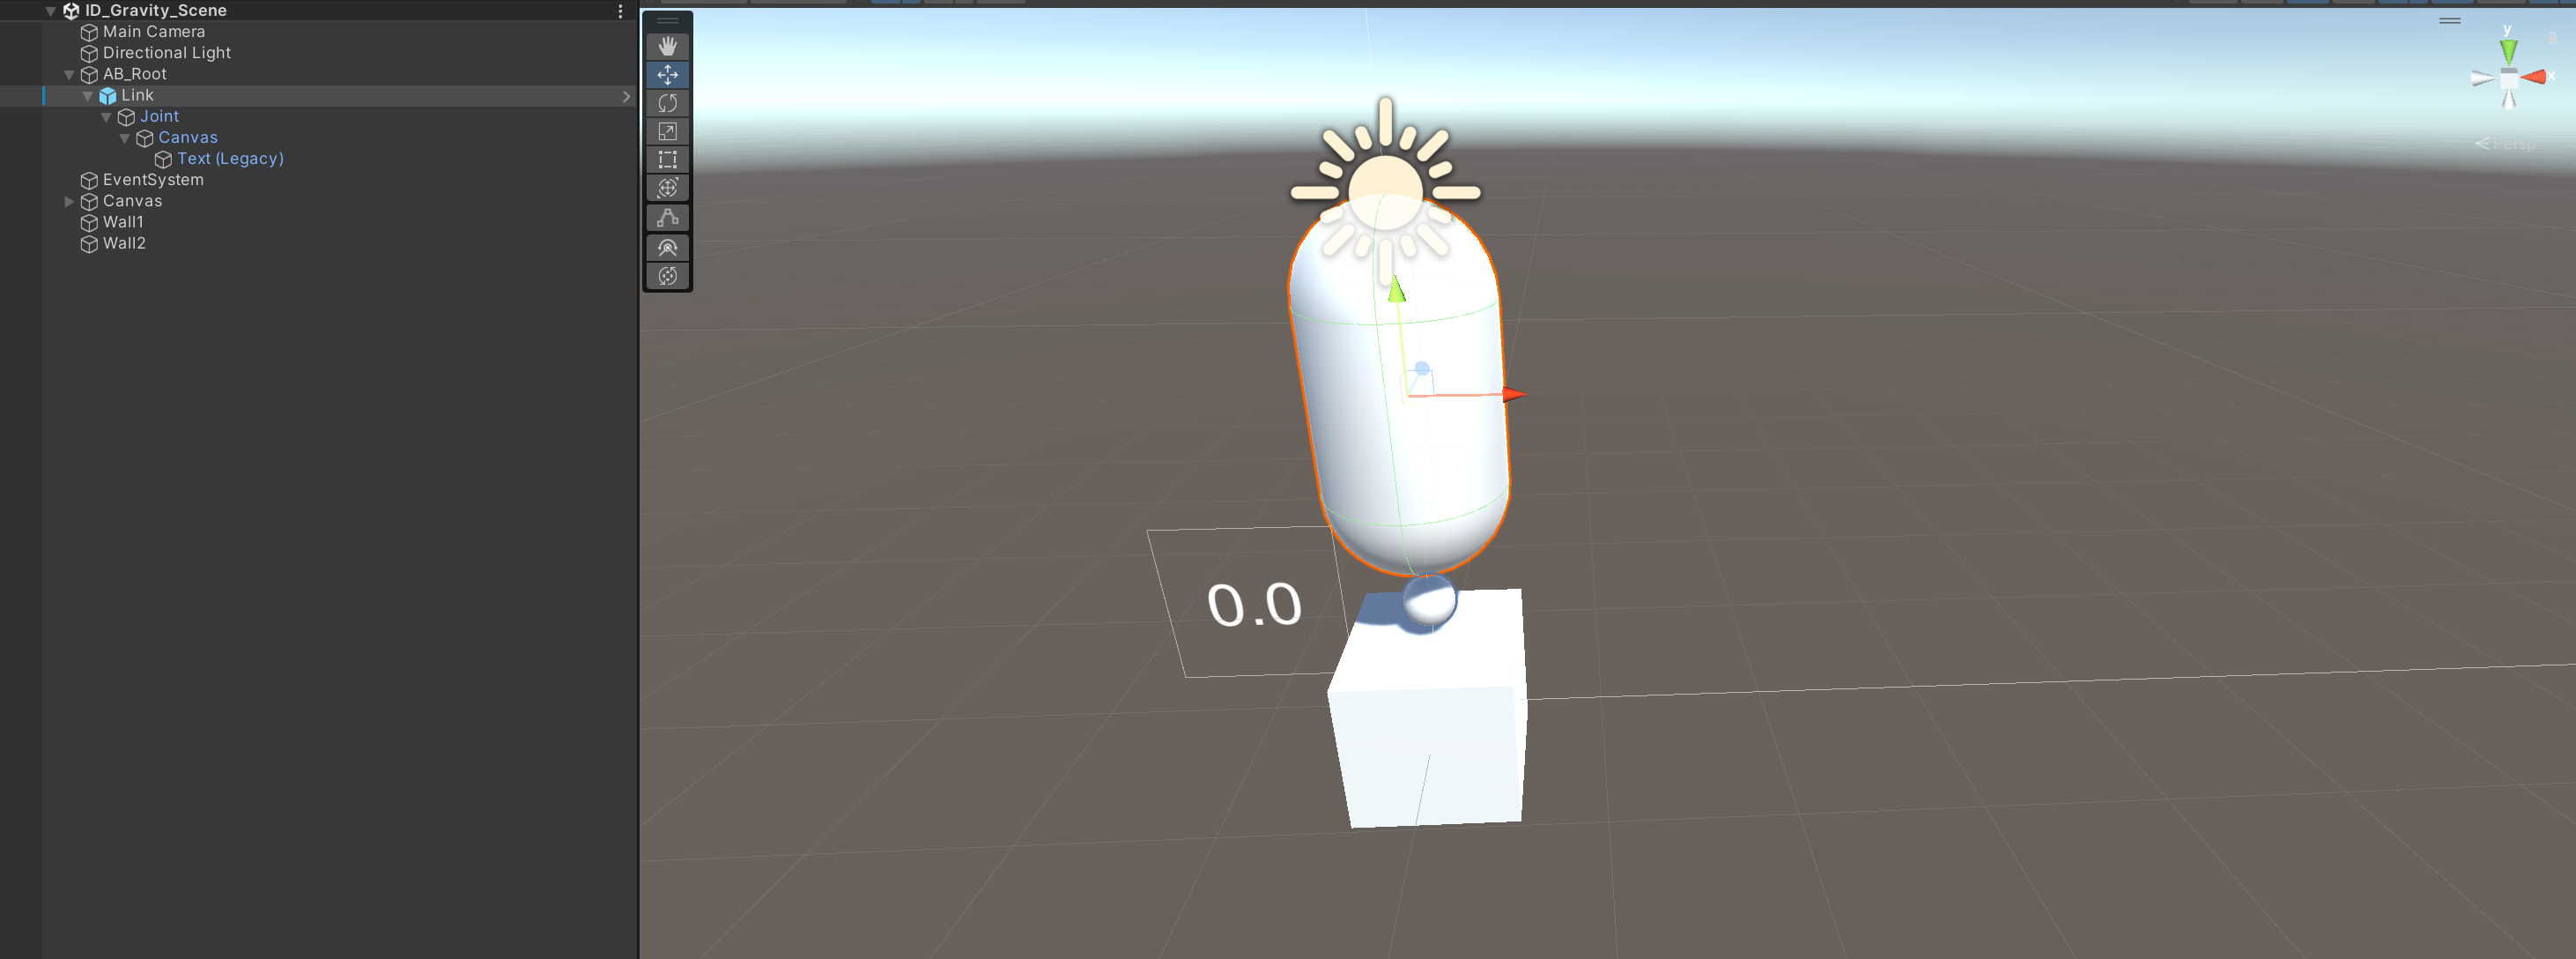
Hierarchy는 다음과 같이 구성되어 있습니다. Immoveable 상태인 Root Link (사각형)과 Link가 하나있습니다.
본 데모는 Add New Link를 통해 Link를 추가하고, Remove Link를 통해 Link를 삭제하는 방식입니다.
UI로 구현되어 있음으로, Canvas에 있는 Script를 보도록 하겠습니다. (Remove 함수는 동일하니 넘어가도록 하겠습니다)
public void OnClickAddLink()
    {
        List<ArticulationReducedSpace> positions = new List<ArticulationReducedSpace>(); // private => 초기화
        for (int i = 0; i < bodies.Count; i++)
        {
            positions.Add(bodies[i].jointPosition);
        }
        lastAddedLink = Instantiate(AB_Link, lastAddedLink).transform;


        for (int i = 0; i < bodies.Count; i++)
        {
            bodies[i].jointPosition = positions[i];
        }

        bodies.Add(lastAddedLink.GetComponent<ArticulationBody>()); // 마지막으로 추가된 링크에 ArticulaionBody 컴포넌트 추가
    }

    public void OnClickRemoveLink()
    {
        if (bodies.Count <= 1)
            return;

        List<ArticulationReducedSpace> positions = new List<ArticulationReducedSpace>();
        for (int i = 0; i < bodies.Count; i++)
        {
            positions.Add(bodies[i].jointPosition);
        }

        Destroy(lastAddedLink.gameObject);
        lastAddedLink = lastAddedLink.parent;

        for (int i = 0; i < bodies.Count; i++)
        {
            bodies[i].jointPosition = positions[i];
        }

        bodies.RemoveAt(bodies.Count-1);
    }
코드 자체는 매우 쉽습니다. 다만 궁금한 부분이 JointPosition이라는 부분이 있는데 뭘 뜻하는 부분인지 모르겠어서 찾아보았습니다.
Articulation.JointPosition은 Reduced Coordinates를 나타낸다고 하네요
Reduced Coordinates란 조인트의 상대좌표계 개념입니다.
reduced coordinates - that is each body has relative coordinates to its parent but only along the unlocked degrees of freedom. This guarantees there is no unwanted stretch.
이해도를 높이기 위해 간단히 데모를 만들어보도록 하겠습니다.
Unity - Scripting API: ArticulationBody.jointPosition
You've told us this page needs code samples. If you'd like to help us further, you could provide a code sample, or tell us about what kind of code sample you'd like to see: You've told us there are code samples on this page which don't work. If you know ho
docs.unity3d.com
using System.Collections;
using System.Collections.Generic;
using UnityEngine;

public class add : MonoBehaviour
{
    public GameObject add_object;
    public Transform vec_Lastobject;
    void Start()
    {
        vec_Lastobject = add_object.transform;
    }

    // Update is called once per frame
    void Update()
    {
        if (Input.GetKeyDown(KeyCode.Space))
        {
            vec_Lastobject = Instantiate(add_object, vec_Lastobject).transform;
        }
    }
}
부모 Articulation Body와 자식 Articulation Body의 상대거리와 동일한 조인트를 생성합니다.
Joint의 중력을 나타내는 스크립트는 AB_Root/Link/에 있습니다. Display Joint Gravity Strain을 열어보도록 하겠습니다.
using System.Collections;
using System.Collections.Generic;
using UnityEngine;
using UnityEngine.UI;
public class DisplayJointGravityStrain : MonoBehaviour
{
    private ArticulationBody ab;
    public Text outputText;
    public float min = 25;
    public float max = 100;
    public Transform joint;

    private Color colorGood = Color.green;
    private Color colorBad = Color.red;
    private int fontSize = 40;
    void Start()
    {
        ab = GetComponent<ArticulationBody>();
    }

    void FixedUpdate()
    {
        List<float> gravity = new List<float>();
        List<int> indices = new List<int>();
        ab.GetDofStartIndices(indices);
        ab.GetJointGravityForces(gravity);

        var gravityForce = gravity[indices[ab.index]];
        float lerp = (Mathf.Abs(gravityForce) - min) / (max - min);
        float r = Mathf.Lerp(colorGood.r, colorBad.r, lerp);
        float g = Mathf.Lerp(colorGood.g, colorBad.g, lerp);
        float b = Mathf.Lerp(colorGood.b, colorBad.b, lerp);

        joint.GetComponent<Renderer>().material.color = new Color(r, g, b);

        outputText.color = new Color(r, g, b);
        outputText.text = gravityForce.ToString("F2");
        outputText.fontSize = fontSize + (int)Mathf.Abs(gravityForce);
    }
}
gravityforce의 값을 소수점 2자리로 반환합니다. Mathf.Lerp를 사용해서 선형보간으로 색을 정해주고 있습니다. 분자에 gravfityFocre를 넣어줘서 중력의 크기에 따라 좀 더 보간이 빠르게 되도록 유도하였네요.
Countering Coriolis / Centrifugal forces #1

using System;
using System.Collections;
using System.Collections.Generic;
using UnityEngine;
using UnityEngine.UI;

public class ID_CoriolisCentrifugal_Demo : MonoBehaviour
{
    public Text statusOutput;
    public Text currentSpeedOutput;
    public ArticulationBody targetAB;
    public ArticulationBody motorAB;

    private void Start()
    {
        currentSpeedOutput.text = "Current Speed: " + motorAB.xDrive.targetVelocity;
    }

    void FixedUpdate()
    {
        List<float> results = new List<float>();
        List<int> indices = new List<int>();

        targetAB.GetJointCoriolisCentrifugalForces(results);
        targetAB.GetDofStartIndices(indices);

        statusOutput.text = "Coriolis/Centrifugal\nForce: \n" + (-results[indices[targetAB.index]]).ToString("F2") + " N";
    }

    public void OnClickIncrease()
    {
        if (motorAB.xDrive.targetVelocity >= 600)
            return;
        ArticulationDrive tempDrive = motorAB.xDrive;
        tempDrive.targetVelocity += 25;
        motorAB.xDrive = tempDrive;
        currentSpeedOutput.text = "Current Speed: " + motorAB.xDrive.targetVelocity;
    }

    public void OnClickDecrease()
    {
        if (motorAB.xDrive.targetVelocity <= -600)
            return;
        ArticulationDrive tempDrive = motorAB.xDrive;
        tempDrive.targetVelocity -= 25;
        motorAB.xDrive = tempDrive;
        currentSpeedOutput.text = "Current Speed: " + motorAB.xDrive.targetVelocity;
    }
}
특별한 내용은 없습니다. gravity와 마찬가지로, 리스트 2개에 각각 GetDofStartIndices 그리고 GetJointCoriolisCentrigualForces를 사용하였네요. 넘어가도록 하겠습니다. 이거 보면서 항상 궁금했던 내용이 어떻게 사람이 받는 힘을 계산한거지...? 생각했는데
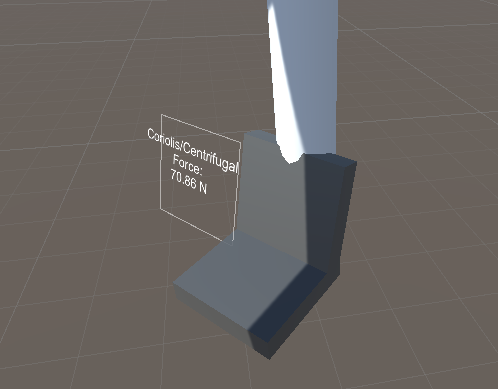
AB_Link_4가 Target으로 설정되어 있습니다. 즉 원심력은 링크를 통해 계산됩니다. 따라서 아바타가 없어도 위와 같이 원심력이 계산되는 것을 확인할 수 있습니다. 혹여 각 파트의 질점을 이용해서 별도로 계산한건가...? 했는데 그건 아니네요.
Countering Coriolis / Centrifugal forces #2
또 다른 예제를 보도록 하겠습니다.
예제를 실행해보니 중앙에 있는 Toggle Counteracint UI를 누르면 구한 힘의 역 방향으로 Articulation Body에 힘이 가해지는 메커니즘 같습니다. 조인트의 설정이 살짝 특이합니다.
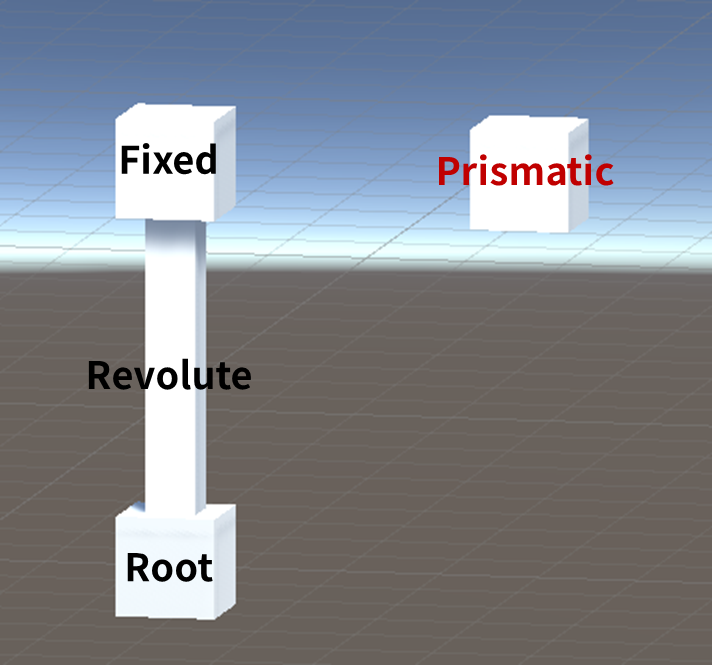
메커니즘은 다음과 같습니다. 원심력은 원의 중심으로 가해짐으로써 실제로 회전이 되는 Articulation Body는 Prismatic으로 설정되어있습니다. 처음에 조금 헷갈렸는데 다른 CAD 프로그램에서 Joint를 설정할 때 Prismatic은 일반적으로 Slider로 설정하는 것으로 기억합니다.
using System.Collections;
using System.Collections.Generic;
using UnityEngine;

public class ApplyCoriolisCentrifugal : MonoBehaviour
{
    public bool applyForce = false;
    private ArticulationBody[] abs;
    void Start()
    {
        abs = FindObjectsOfType<ArticulationBody>();
    }


    void FixedUpdate()
    {
        if (!applyForce)
        {
            for (int i = 0; i < abs.Length; i++)
            {
                abs[i].jointForce = new ArticulationReducedSpace(0);
            }

            return;
        }

        List<float> results = new List<float>();
        List<int> indices = new List<int>();

        abs[0].GetJointCoriolisCentrifugalForces(results);
        abs[0].GetDofStartIndices(indices);

        for (int i = 0; i < abs.Length; i++)
        {
            // Since all joints in this articulation only have 1 DoF we can get away with writing it like this
            abs[i].jointForce = new ArticulationReducedSpace(results[indices[abs[i].index]]);
        }
    }
}
내용 및 구현은 이전과 너무 유사함으로 넘기도록 하겠습니다.
DriveForces
Drive Force 데모입니다.
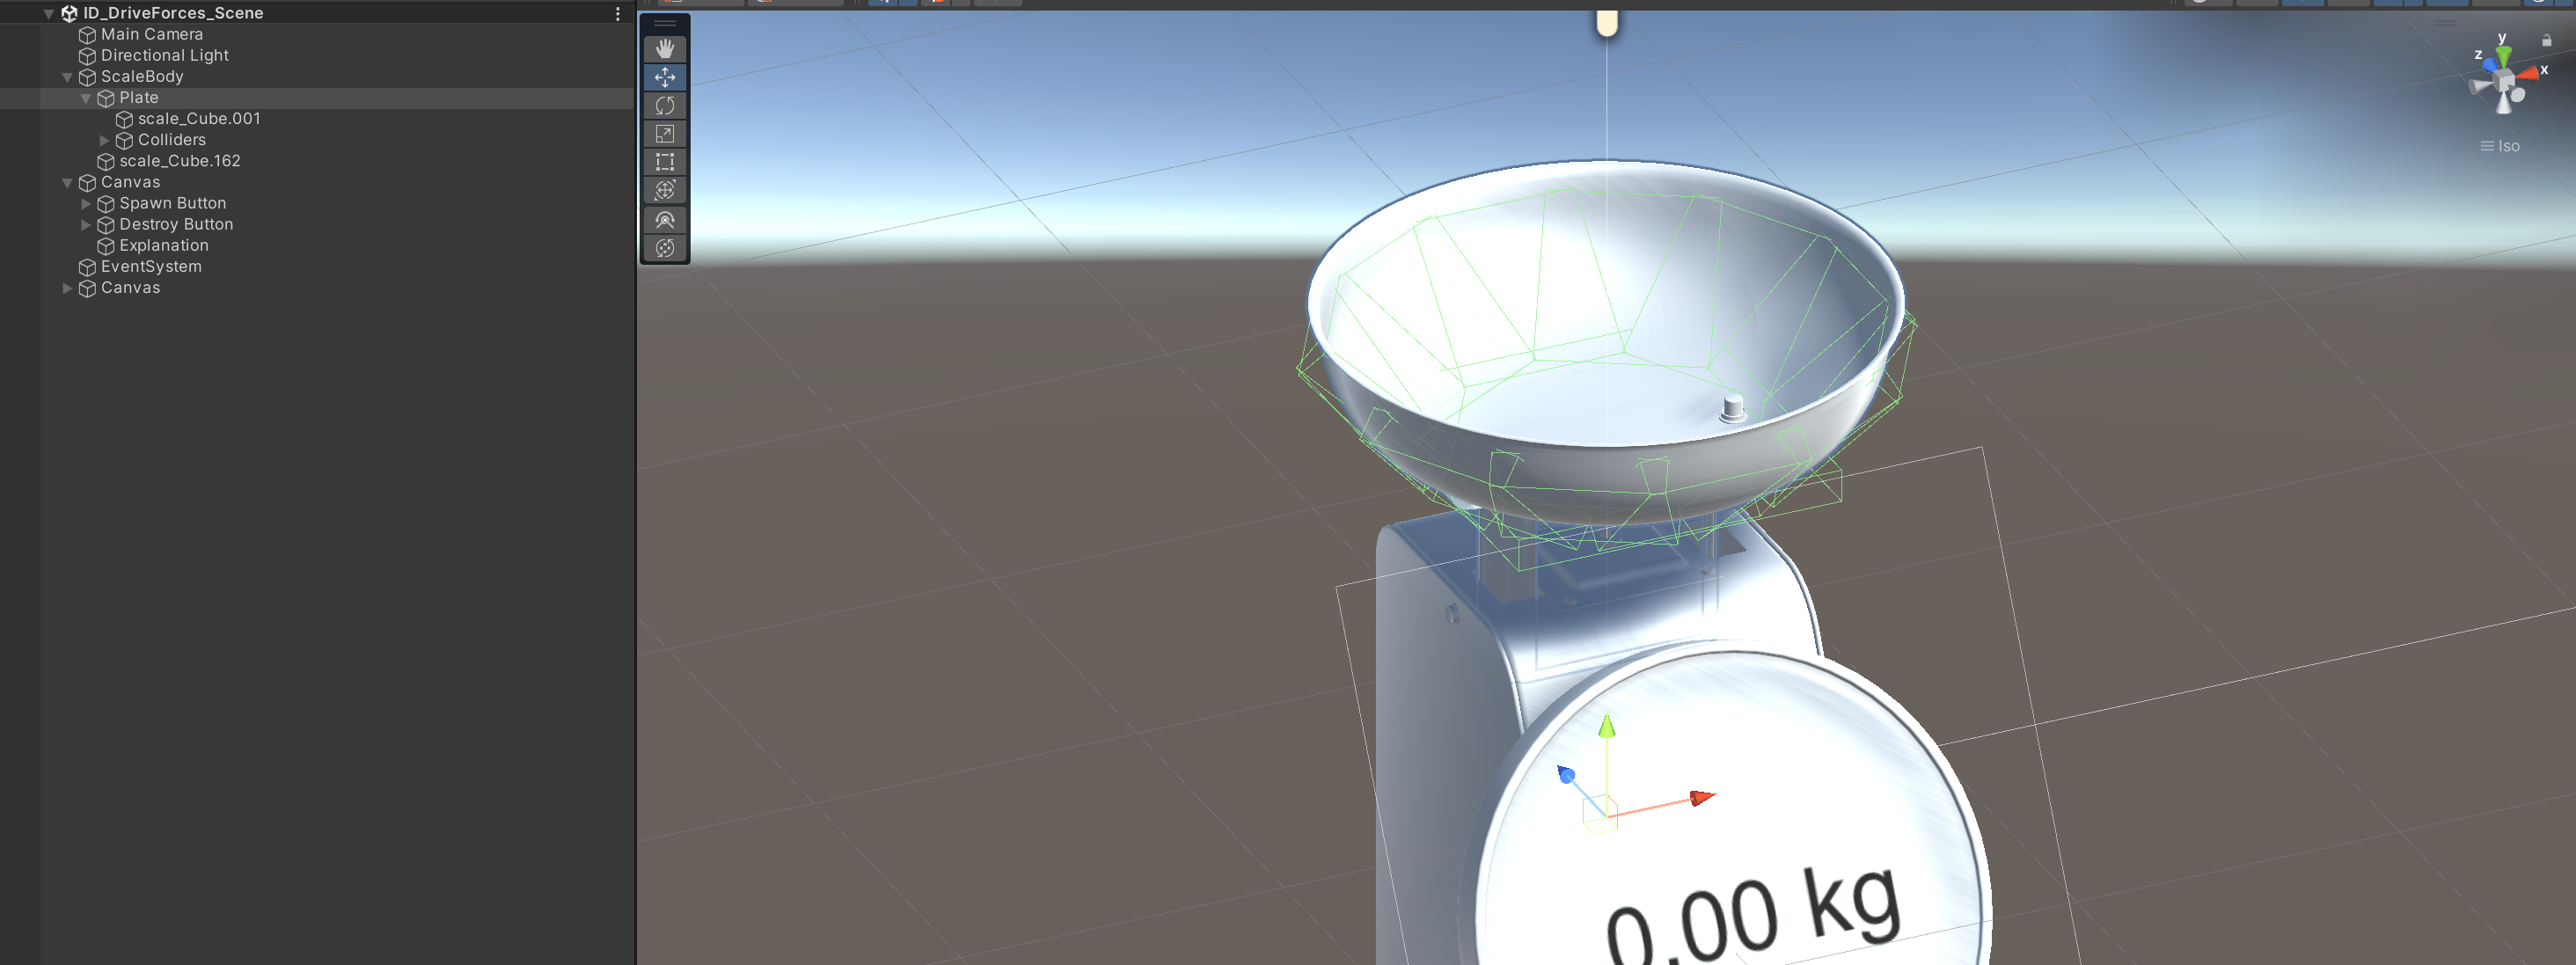
Plates라는 오브젝트가 있습니다. 이 오브젝트는 Prismatic으로 설정되어 있습니다. 그리고 아래와 같이 ab.driveForce[0]을 통해서 물리력을 나타냅니다. 특별한 코드는 없고 articulation body의 driveforce를 가져옮으로써 구현하였습니다.
using System.Collections;
using System.Collections.Generic;
using System.Numerics;
using UnityEngine;
using Quaternion = UnityEngine.Quaternion;
using Vector3 = UnityEngine.Vector3;
using UnityEngine.UI;

public class ID_DriveForces_Demo : MonoBehaviour
{
    private List<GameObject> spheres = new List<GameObject>();
    private Vector3 spawnPoint = new Vector3(0, 3, 0);

    public Text weightValue;

    private ArticulationBody ab;


    void Start()
    {
        ab = transform.GetComponent<ArticulationBody>();
    }


    void FixedUpdate()
    {
        weightValue.text = (-ab.driveForce[0] / Physics.gravity.y - ab.mass).ToString("F2") + " kg";
    }

    public void OnClickAddSphere()
    {
        var sphere = GameObject.CreatePrimitive(PrimitiveType.Sphere);
        sphere.transform.localPosition = spawnPoint;
        var rb = sphere.AddComponent<Rigidbody>();
        rb.transform.localScale = Vector3.one * 0.3f;
        spheres.Add(sphere);
    }

    public void OnClickDestroySphere()
    {
        if (spheres.Count <= 0)
            return;
        Destroy(spheres[spheres.Count-1]);
        spheres.RemoveAt(spheres.Count-1);
    }
}
Getting the Reduced Space forces needed to counteract External forces
구현 부분이 살짝 이해를 가지 않습니다. 녹색 영역의 Wind Zone을 만들고, 힘을 가해주는데 FixedUpdate를 사용합니다. Counter 도 Forward도 모두 FixedUpdate를 사용하는데 이 경우 수면(WindZone)입구에서 표면장력처럼 멈추는게 맞지않나...? 싶은데 계속 튕기네요.... External forces만 고려해서 즉 damping과 같은 힘의 방향이 반대인 상쇄요소때문에 이런 일이 발생되는 것인지.... 시간날 때 조사를 해봐야 할 것 같습니다.
주의 : 아래와 같이 외력이 주어진 후에 GetJointExternal을 사용해야합니다. 그렇지 않을 경우 0을 반환함
using System.Collections;
using System.Collections.Generic;
using UnityEngine;
using UnityEngine.UI;

public class ID_ExternalForces_Demo : MonoBehaviour
{
    [SerializeField]
    ArticulationBody m_Root;

    [SerializeField]
    Vector3 m_WindForce;

    List<ArticulationBody> m_Bodies = new List<ArticulationBody>();

    [SerializeField]
    bool b_ApplyExternalForces;

    [SerializeField]
    Text m_ExternalStatus;
    [SerializeField]
    Text m_ButtonText;

    List<float> m_ExternalForces = new List<float>();
    List<float> m_ZeroList = new List<float>();

    void Start()
    {
        m_Root.GetJointExternalForces(m_ExternalForces, Time.fixedDeltaTime);
        m_ButtonText.text = "Apply Forces: " + b_ApplyExternalForces;

        // We populate a list with 0s to reset the forces added later
        for (int i = 0; i < m_ExternalForces.Count; i++)
        {
            m_ZeroList.Add(0);
        }
    }

    void FixedUpdate()
    {
        // We apply the force here and clear the list, to ensure that all the forces were added
        // only once and were added before we call GetJointExternalForces
        foreach (var body in m_Bodies)
        {
            body.AddForce(m_WindForce * Time.fixedDeltaTime* Random.Range(0.75f, 1.25f));
        }
        m_Bodies.Clear();

        m_Root.GetJointExternalForces(m_ExternalForces, Time.fixedDeltaTime);

        float sum = 0;

        for (int i = 0; i < m_ExternalForces.Count; i++)
        {
            sum += m_ExternalForces[i];
        }

        m_ExternalStatus.text = "Total External Forces: " + sum.ToString("F2");

        if (b_ApplyExternalForces)
            m_Root.SetJointForces(m_ExternalForces);
        else
        {
            m_Root.SetJointForces(m_ZeroList);
        }
    }

    public void ToggleApplyForces()
    {
        b_ApplyExternalForces = !b_ApplyExternalForces;
        m_ButtonText.text = "Apply Forces: " + b_ApplyExternalForces;
    }

    private void OnTriggerStay(Collider other)
    {
        // We collect the bodies that are in our trigger zone, but don't apply the force yet
        ArticulationBody ab = other.GetComponentInParent<ArticulationBody>();

        if (ab != null)
        {
            if (!m_Bodies.Contains(ab))
                m_Bodies.Add(ab);
        }
    }
}
Getting forces required to reach a specific acceleration
엘레베이터 같은 데모입니다. 특정 가속도를 도달하기 위한 힘을 계산합니다. 코드는 아래와 같습니다.
using System.Collections;
using System.Collections.Generic;
using UnityEngine;
using UnityEngine.UI;
public class ID_ForcesForAcceleration_Demo : MonoBehaviour
{
    private ArticulationBody ab;
    public float desiredAcceleration = 0.5f;
    public Slider desiredAccelerationSlider;
    public Text desiredAccelerationText;
    public Text currentAcceleration;
    public Text currentVelocity;
    public Text currentForceApplied;
    void Start()
    {
        ab = GetComponent<ArticulationBody>();
    }

    void FixedUpdate()
    {
        desiredAcceleration = desiredAccelerationSlider.value;
        desiredAccelerationText.text = desiredAcceleration.ToString("F2");
        List<float> gravity = new List<float>();
        List<int> indices = new List<int>();

        ab.GetJointGravityForces(gravity);
        ab.GetDofStartIndices(indices);

        ArticulationReducedSpace desired =
            new ArticulationReducedSpace(desiredAcceleration);

        var accelerationForces = ab.GetJointForcesForAcceleration(desired);

        ArticulationReducedSpace accelerationAndGravity = new ArticulationReducedSpace(accelerationForces[0] + gravity[indices[ab.index]]);
        ab.jointForce = accelerationAndGravity;

        currentAcceleration.text = "Current Acceleration:\n" + ab.jointAcceleration[0].ToString("F2") + " m/s^2";
        currentVelocity.text = "Current Velocity:\n" + ab.jointVelocity[0].ToString("F2") + " m/s";
        currentForceApplied.text = "Current Force:\n" + ab.jointForce[0].ToString("F2") + " N";
    }
}
지금까지의 데모를 보았다면, 구조가 매우 유사한 것을 알 수 있습니다. 마찬가지로 리스트 2개를 만들고, 특정 가속도 즉 환경은 중력가속도를 받음으로 중력가속도를 제한 Desired 값을 addForce해줍니다.
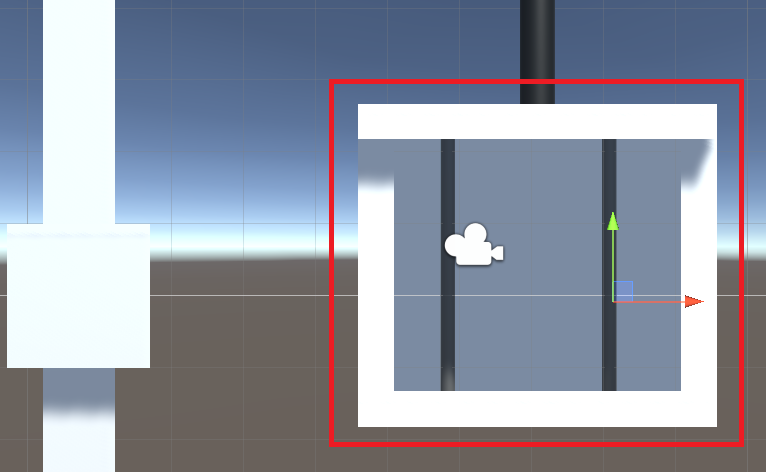
기준이 어딘가 싶어서 하이어리키를 봤더니 아바타가 아닌 사각형의 엘레베이터를 기준으로, 물리를 계산하고 있습니다.

댓글